Introduction
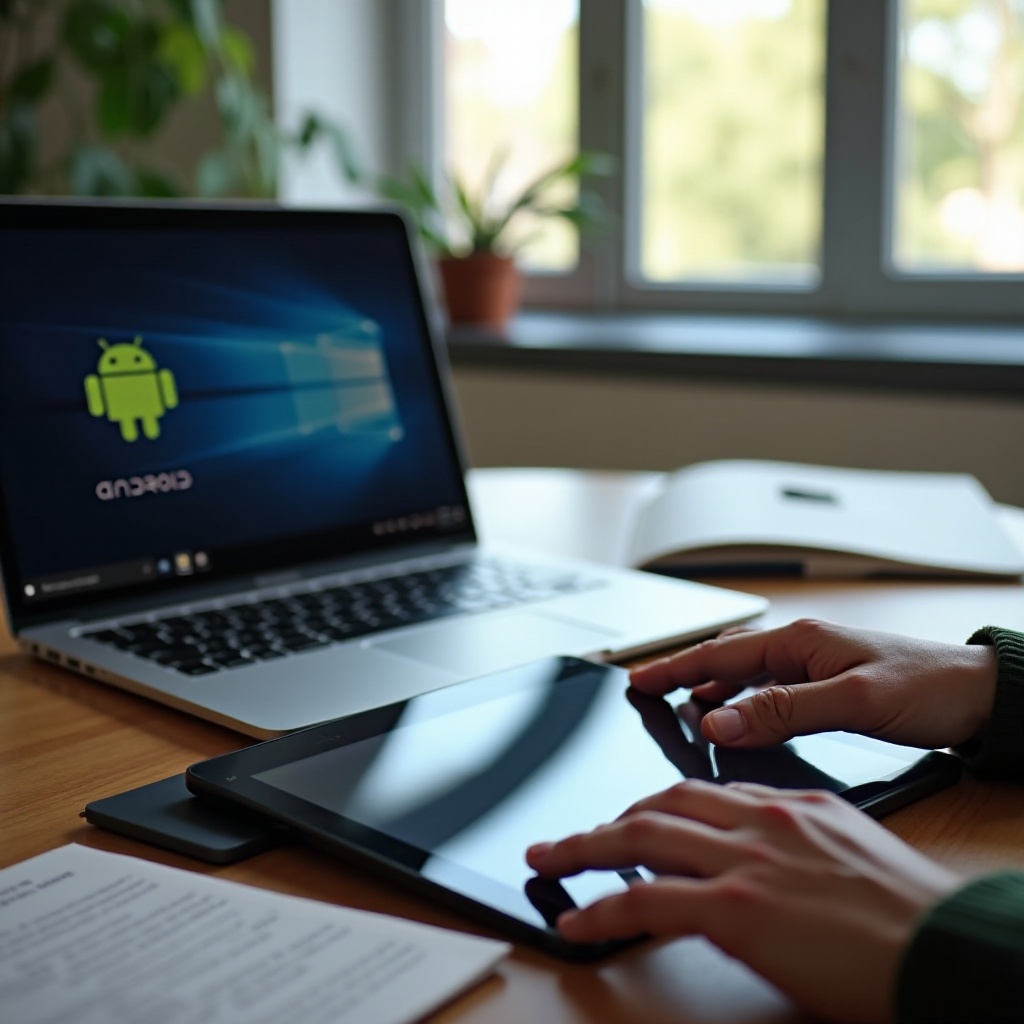
Installing Android on a Windows tablet opens up a new realm of possibilities. With this setup, you can enjoy broader app diversity and improved performance. This comprehensive guide will take you through each step of the process, ensuring you can successfully install Android on your Windows tablet.

Preparing Your Windows Tablet
Before starting, it’s essential to prepare your Windows tablet thoroughly.
- Checking Compatibility: First, verify that your tablet’s hardware is capable of dual-booting. Ensure your device has at least 16GB of free storage and 2GB of RAM.
- Backing Up Data: Protect your existing data by creating a full backup. You can use Windows’ built-in backup tools or opt for cloud services for safekeeping.
- Ensuring Sufficient Storage: Clear out unnecessary files and applications to make sure there’s enough space for Android.
By properly preparing your tablet, you’ll encounter fewer obstacles during the installation process, streamlining the transition to a dual-boot system.
Downloading Essential Software
With your tablet ready, the next step is to download the necessary software to proceed with the Android installation.
- Choosing the Right Android Version: Opt for the Android x86 version, designed specifically for tablets. Consider using Android 10 x86 or later for stable performance.
- Downloading Android x86: Access the official Android x86 website to download the latest ISO image. This is crucial for creating a bootable USB drive.
- Required Tools and Resources: Download a USB drive creation tool like Rufus, and ensure you have a minimum 8GB USB drive for the boot process.
Now that you have the necessary software and tools, it’s time to turn your USB drive into a bootable medium, which is vital for the installation process.
Creating a Bootable USB Drive
Creating a bootable USB drive is a crucial step in installing Android on your Windows tablet.
- Using Software like Rufus: Install Rufus on your Windows PC. Launch the application, then select the Android x86 ISO file.
- Configuring BIOS/UEFI Settings: Restart your tablet and enter the BIOS/UEFI menu. This typically involves pressing a key like F2, F10, or DEL during startup. Set the USB drive as the primary boot device.
With a bootable USB drive prepared and your BIOS set up correctly, your tablet is poised to boot Android for the first time.
Installing Android on Your Tablet
The installation process is the centerpiece of this guide, requiring precision and attention to detail.
- Booting from the USB Drive: Insert the USB drive into the tablet and restart. The device should boot from the USB if configured correctly.
- Navigating the Installation Process: Follow the on-screen instructions to start the installation. Choose ‘Install Android’ when prompted.
- Setting Up Dual-Booting Options: Allocate suitable disk space for Android during the installation. This ensures both Windows and Android operate smoothly.
Completing these steps will transform your Windows tablet into a dual-boot system, bringing together the power of two diverse operating systems.
Configuring Android Post-Installation
After Android is installed, configuring it for optimal performance on your tablet is essential.
- Initial Setup Steps: Complete the Android setup, selecting language preferences and connecting to Wi-Fi. Sign in with your Google account to sync apps and settings.
- Essential Apps to Install: Dive into the Google Play Store to enhance your tablet with apps for productivity, media consumption, and more.
By tailoring the Android environment to your needs, you can integrate its use seamlessly with your daily tasks, maximizing your tablet’s capabilities.
Troubleshooting Common Issues
Although the process is straightforward, you may face issues during or after installation. Here’s how to address them:
- Solving Boot Problems: If the tablet doesn’t boot into Android, revisit BIOS settings to confirm the USB boot priority is correct.
- Fixing Installation Errors: Should you encounter any errors during installation, ensure your ISO file is intact by downloading again, and consider redoing the bootable USB creation.
With solutions at hand for common challenges, you can turn your focus to enjoying your enhanced device.
Conclusion
Installing Android on a Windows tablet offers numerous enhancements, such as expanded app access and greater flexibility. While the installation process requires careful preparation and execution, it is achievable by following this guide. Once both operating systems are fully operational, you’ll appreciate the benefits of this technical convergence.
Frequently Asked Questions
Can I revert back to Windows only after installing Android?
Yes, you can revert by deleting the Android partition and restoring the Windows bootloader.
Will installing Android void my tablet’s warranty?
Installing Android could potentially void your warranty as it involves modifying the device’s default settings.
How can I ensure my data is safe during installation?
Always back up data before proceeding. Use cloud storage or external drives to protect your files against loss.